Quick Start
A 5-minute tour to get you productive. You'll sign up, set up your first workspace, and — if you want — let the AI build your tables, lists, and dashboard for you. Then we'll cover the basics: tasks, fields, and views.
1. Sign up
Go to konduit.work and create an account. You can sign up with Google or with an email and password.
2. Set up your workspace
Konduit organizes work as Workspace → Space → List → Task. A workspace is your whole environment; see Workspaces for the full picture.
What you see next depends on how you arrived:
- Brand-new account (no workspace yet): a Welcome to Konduit dialog asks you to name your workspace (usually your company or team name).
- Invited to a pilot, or signed up through a public link: a workspace is already waiting for you, so you get a Welcome dialog for the workspace instead of a name field.
Either way, the dialog asks a couple of optional questions about your business:
| Field | Required | What it's for |
|---|---|---|
| Workspace name | Yes (new accounts only) | Your company or team name. You can change it later. |
| Industry | Optional | A dropdown of common lines of work — Construction, IT / MSP, Field Service, Legal, Real Estate, and more — or type your own. |
| What does your business do? | Optional | A sentence or two in plain language, e.g. "We manage client projects and keep track of tasks and deadlines." |
The industry and description are optional, but filling them in lets the AI tailor everything to how you actually work. Only the workspace owner sees this prompt, and it appears just once.
3. Let AI build it out (recommended)
At the bottom of the welcome dialog, choose Let AI build out my workspace (new accounts see Or let AI set it up for me). This opens the AI Assistant — the Ask AI sparkle button in the top bar — already primed with the industry and description you entered.
The assistant offers to set up tables, lists, and a dashboard around your kind of business, with one-tap suggestions like:
- Set up a workspace for my kind of business
- Build tables for what I track
- Show me around Konduit
Beyond the initial setup, the assistant can also build forms and automations for you. You can reopen it anytime from the Ask AI button in the top bar.
Prefer to do it yourself? Pick Save and explore on my own to keep what you entered, or Maybe later to dismiss the prompt. Nothing here is required — the manual path works for everything the AI can do.
4. What's already there
Every new workspace comes pre-built with a starting structure so you're never staring at a blank screen:
- A space called My First Space
- A list called Getting Started
- A Welcome to Konduit task with a couple of subtasks to try things out
- Default task statuses (Open, In Progress, Completed, and so on)
Click the + in the sidebar anytime to add your own spaces and lists.
5. Your first task
Open a list and click + Create Task at the top right. Give it a title, hit save, and you're off. Open any task to add a description, checklist, comments, attachments, or time tracking.
6. Customize fields
Tasks have a default set of fields — title, status, priority, due date, assignees. Add your own via Custom Fields — text, number, dropdown, dates, even links to DataTables.
7. Switch views
Every task list has two view types — Table (the default "All Tasks") and Board (Kanban). Toggle between them at the top of the list.
What's next
- Workspaces — switching workspaces and inviting your team
- Spaces & Folders — how to organize bigger workspaces
- Custom Fields — make tasks fit your domain
- DataTables — relational tables for clients, inventory, line items, and more
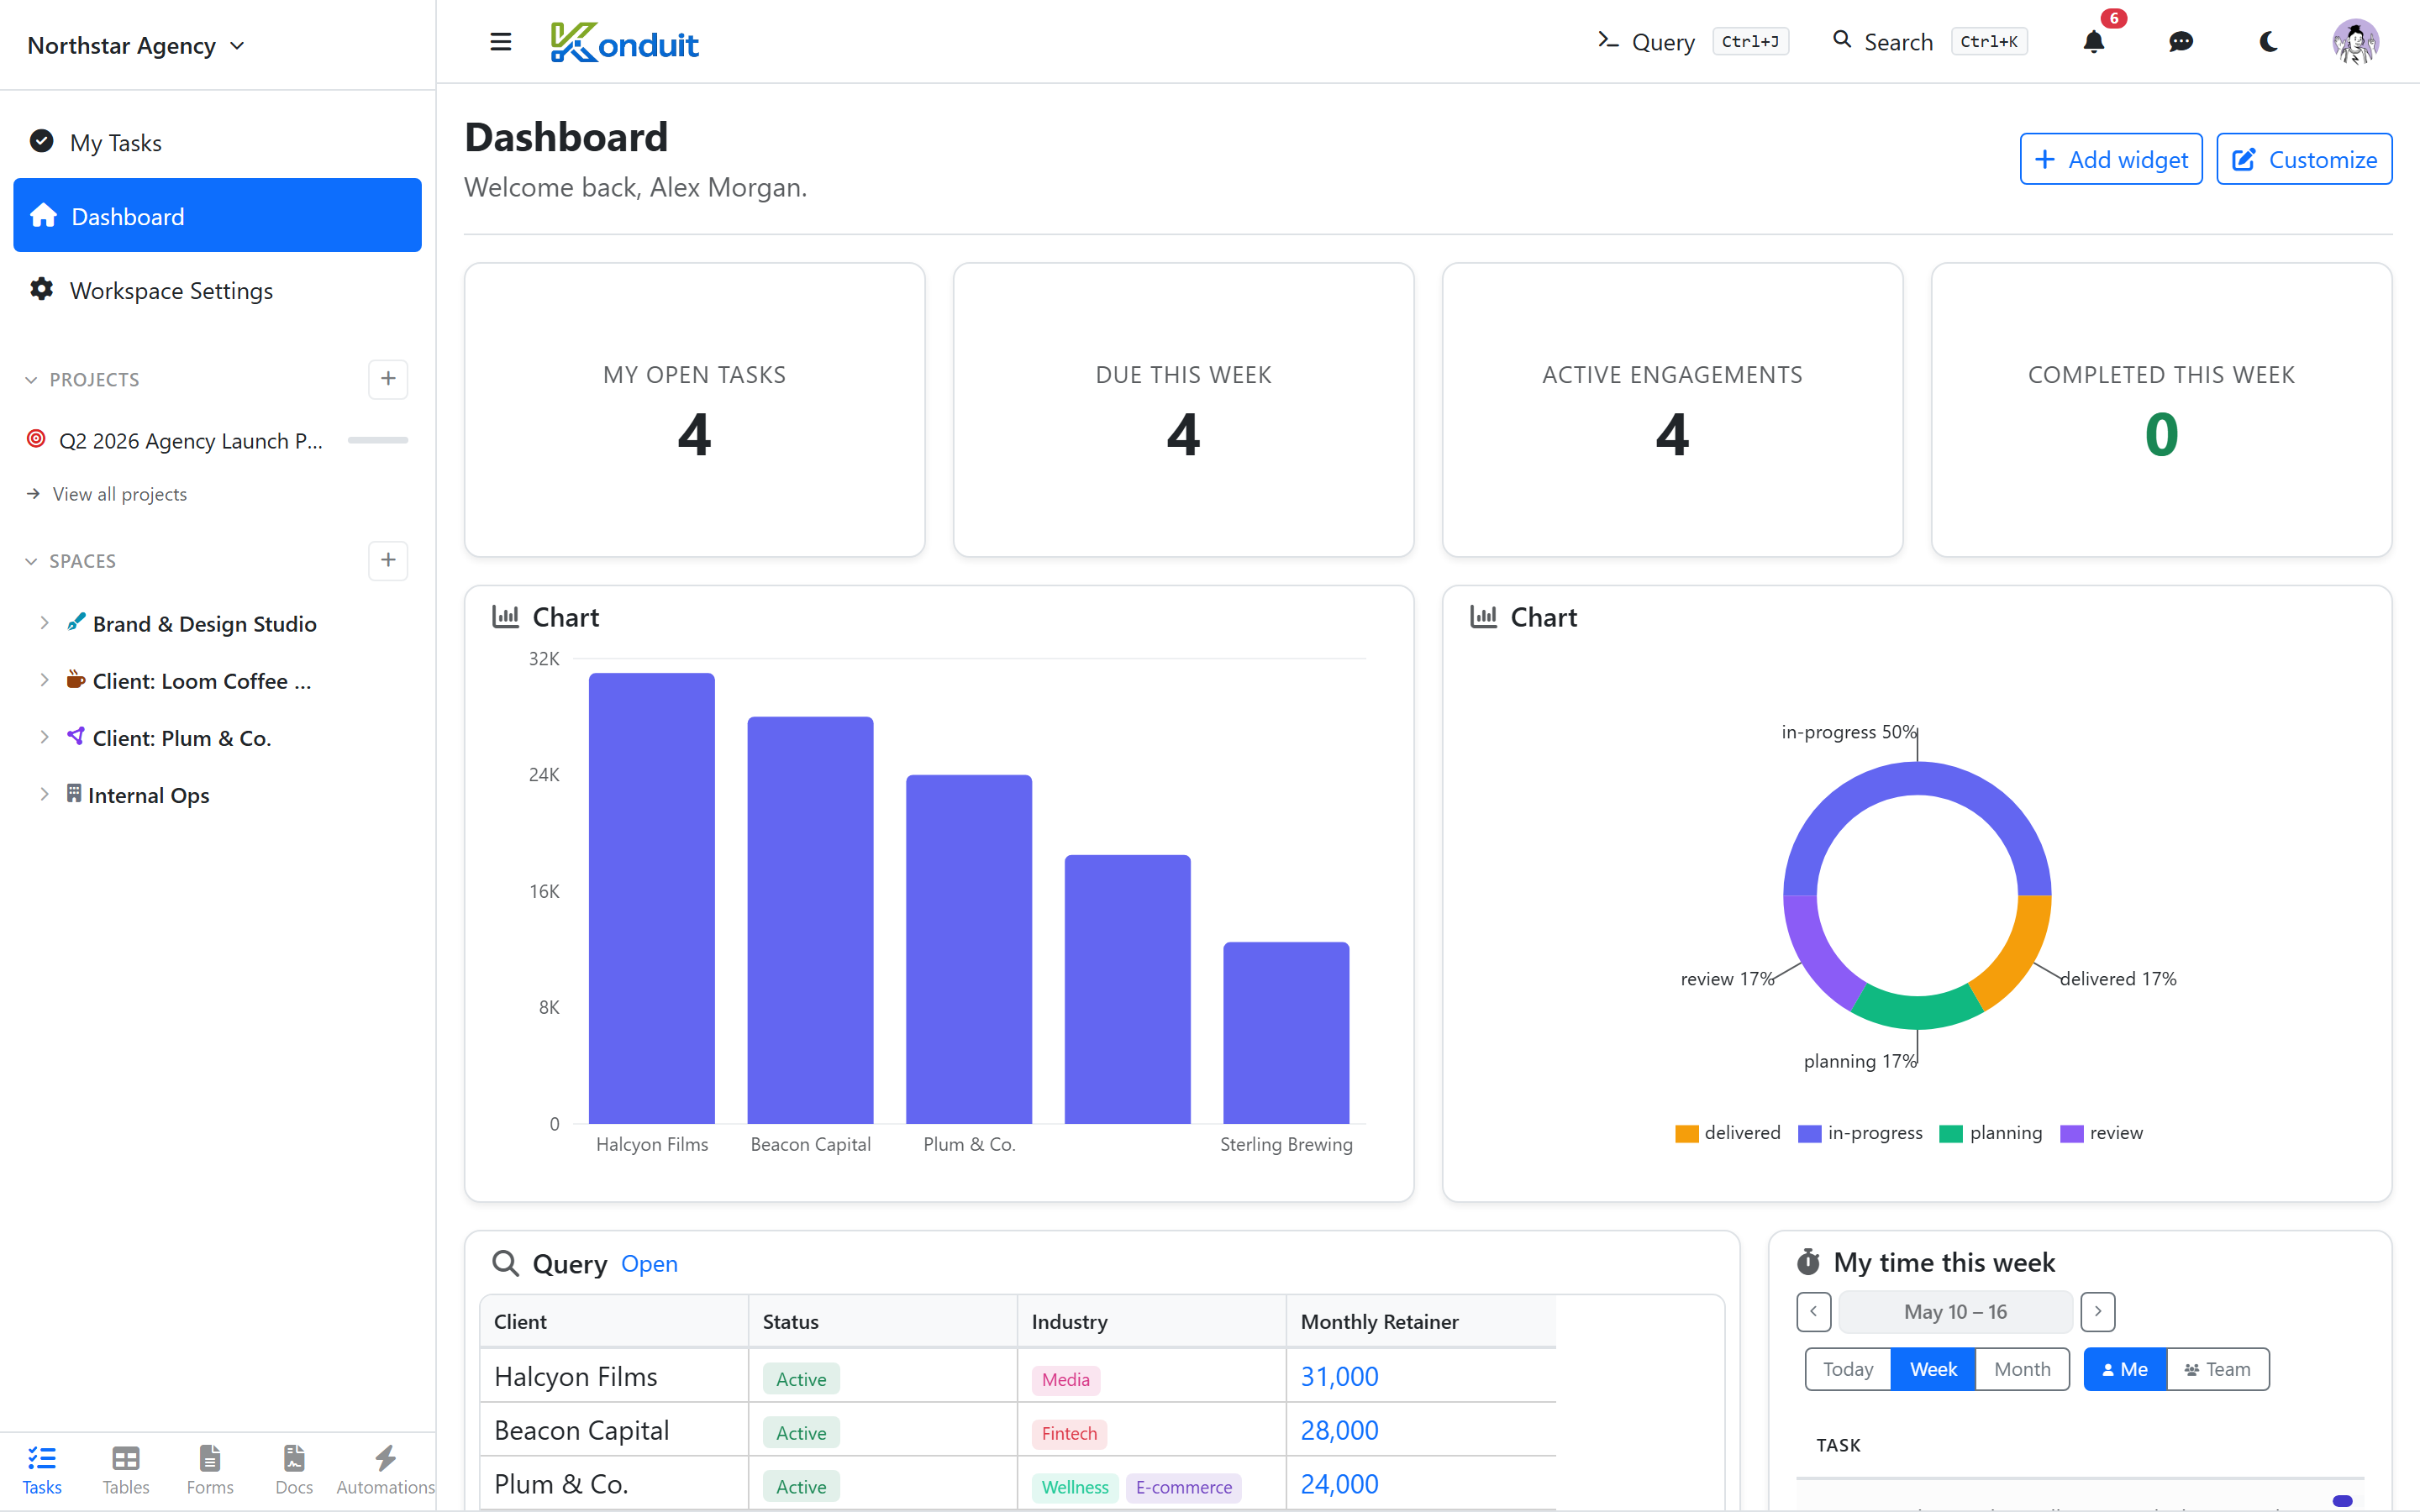
- Dashboards — roll up metrics across lists